
How To Write YouTube Descriptions That Get Views!

A description isn't an SEO field. It's a decision about where the viewer goes next.

Most descriptions get filled in on autopilot, treated as a place to stuff keywords and move on. But a description is one of the few spots on a video page where a creator actually points the viewer somewhere, whether that's to another video, a link, a next step. 

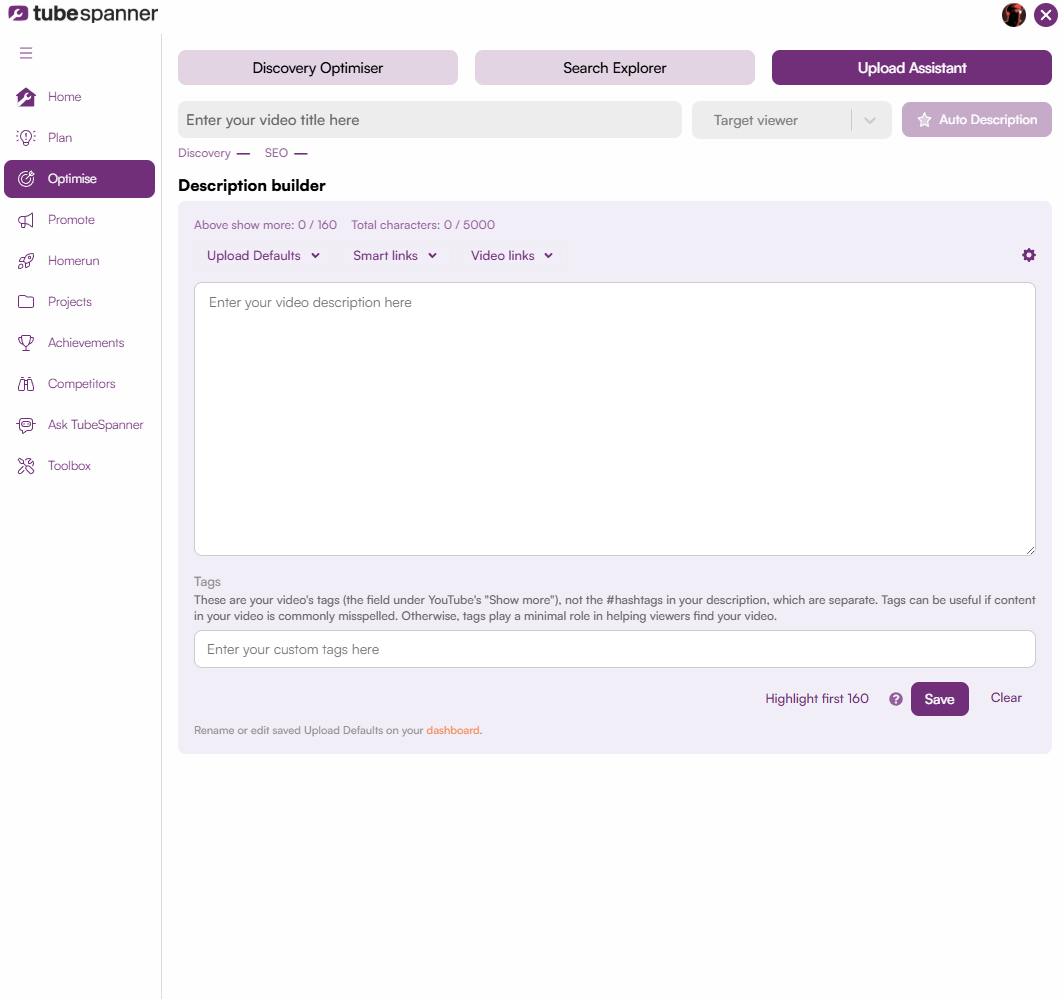
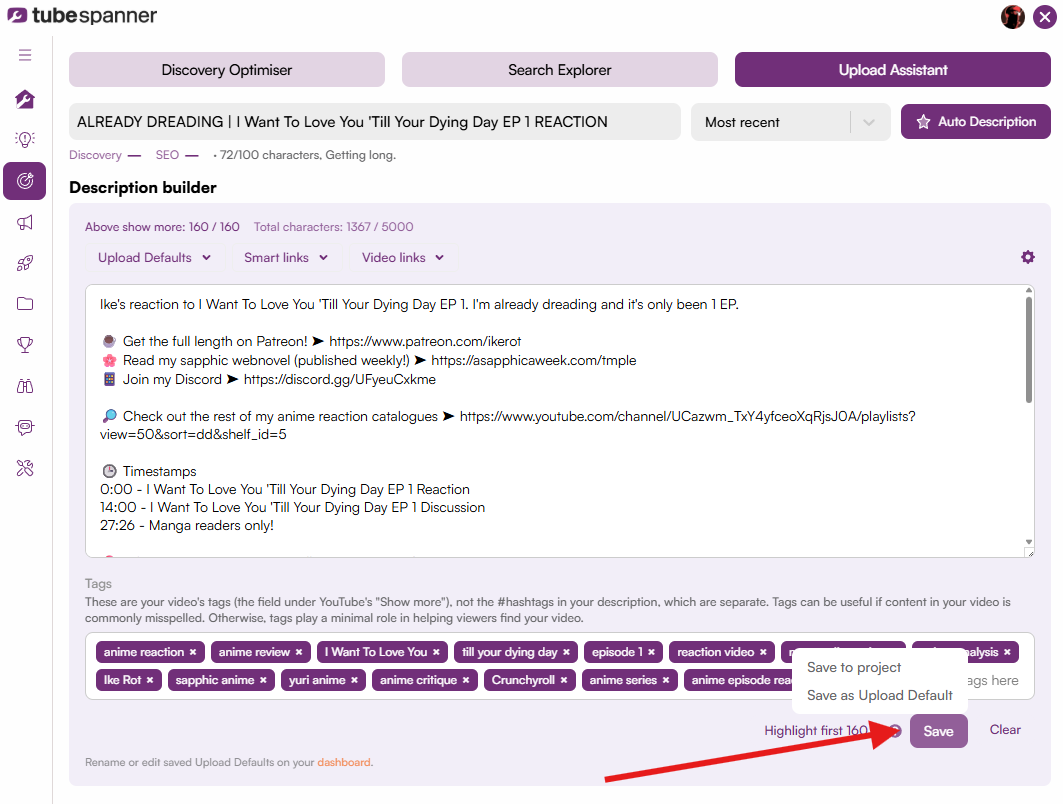
TubeSpanner Upload Assistant
Ike

Heading
What a Description Actually Does

Body

A lot of creators treat the YouTube description as the last thing standing between them and the publish button. It's easy to see why... by the time a video is edited, the title is picked, and the thumbnail is uploaded, writing 200+ words of metadata can feel like an afterthought.

Especially when you realize that you're not just writing the description for humans, but also for the YouTube algorithm.

Your video description serves two audiences at once. The first is your viewers, who use it to decide whether to click "show more" and keep reading. The second is YouTube's system, which uses the text as a signal for what the video covers and who it should be shown to.

The dual purpose is why a generic, one-size-fits-all description technically works, but underperforms. It gives YouTube something to read, but not much to act on.
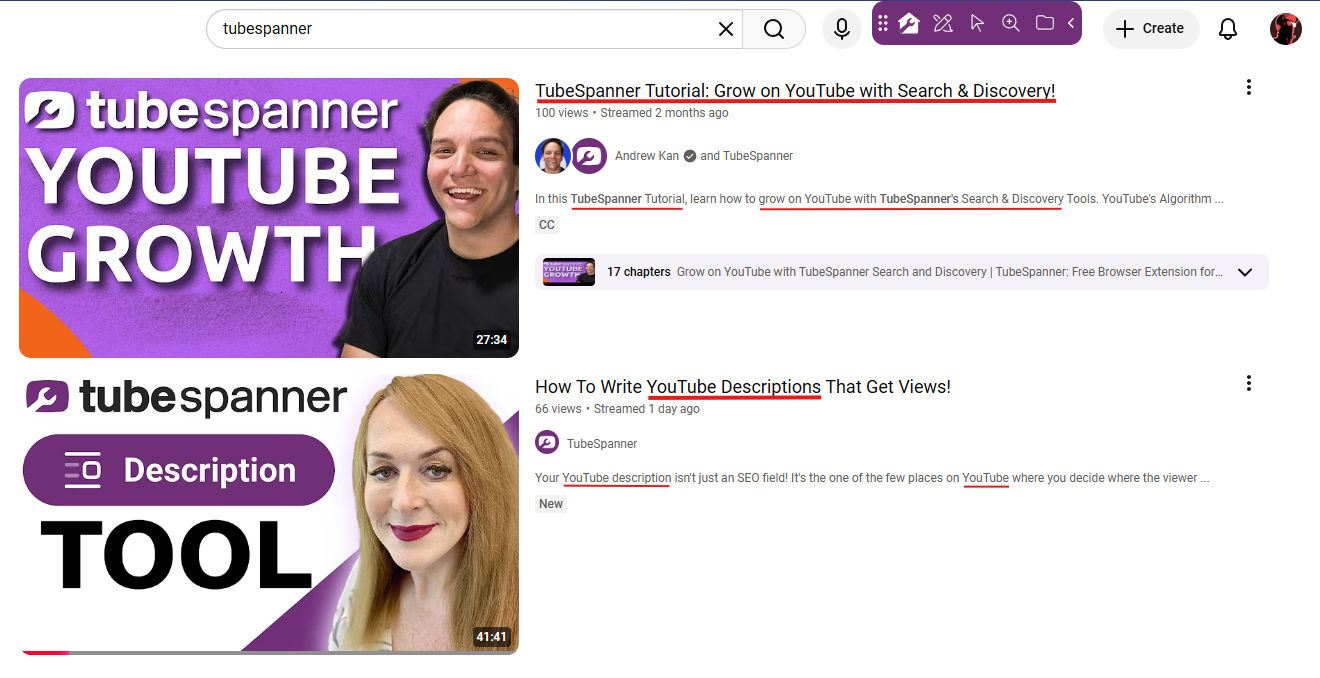
As you can see in the picture above, having a description that matches your title is important when it comes to search. YouTube even bolds the word(s) you used when searching for videos.

Heading
Two Parts of Every Description

Body

YouTube's own guidance splits a description into two zones.

Above the fold: roughly the first 160 characters, visible before a viewer taps "show more" on mobile or desktop.

Everything after: the full 5,000-character space, where links, context, and detail live.

The first zone is the one creators often misuse or not use at all. If you've ever left your description blank, you're not giving YouTube much to go with.

YouTube wants to keep viewers on their platform, and if you only have links above the fold that takes people off the platform, YouTube will not prioritize your videos as much.

On the YouTube Help page, they make it clear that each video still needs a unique opening line or two. Something that describes that specific video, not just the channel in general.

Heading
Two Ways to Build a Description With TubeSpanner

Body

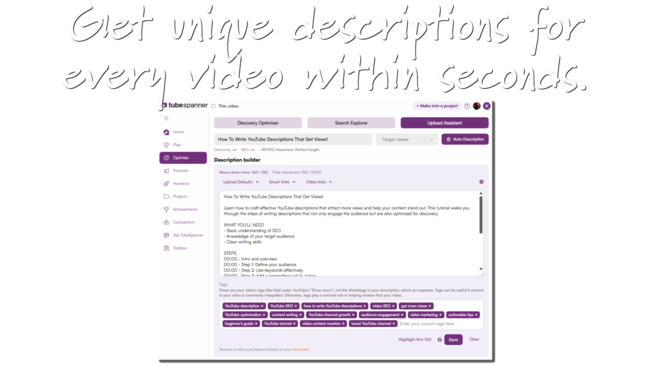
TubeSpanner's Upload Assistant offers a tiered approach, so the level of manual input scales with how much control a creator wants.

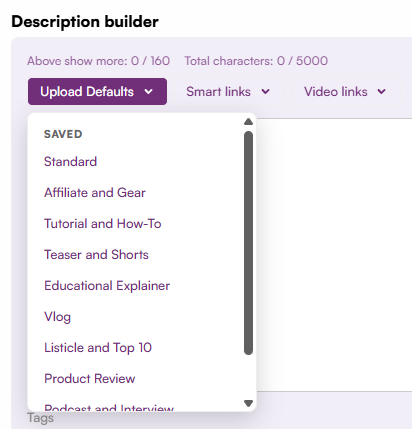
Basic template. This is the simplest option. TubeSpanner has multiple templates with different genres for you to choose one. If you're not sure how to start, then start with these templates and make it yours.

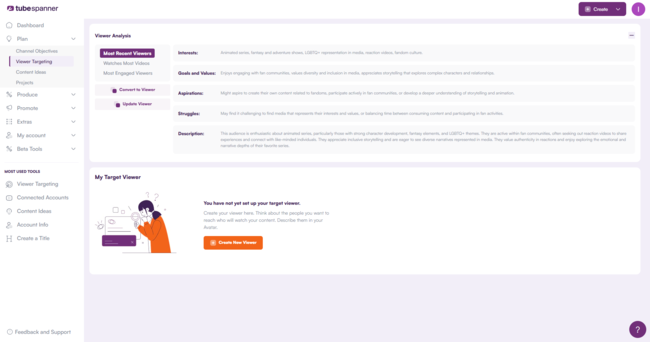
Smart description. If you've already got a title ready, put it in and select your audience, and click on "Auto Description." TubeSpanner will then take data from the title and your channel audience and build the description off of that. This way, you will have an original description for each of your videos. All you gotta do is edit it to match your tone.

TubeSpanner will also pull in dynamic links and select a related video to watch next.

None of these require touching the YouTube Studio description field directly while you build it out. The draft lives in the tool until you're ready to apply.

Heading
TubeSpanner Smart Links and Video Links

Body

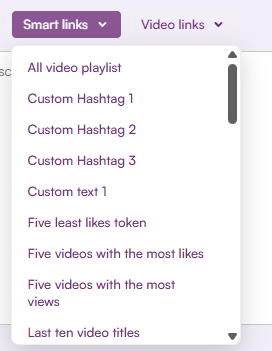
Smart links are reusable links that you save once and can reuse across videos. These links can be affiliate links, a store page, a Discord invite, boilerplate URLs, etc.

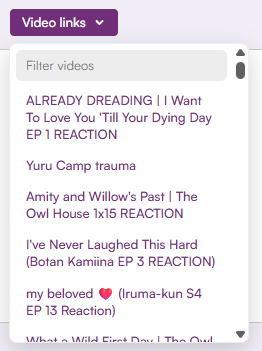
Video links are your own previously published videos, which can be filtered by topic so the "watch next" suggestion is relevant rather than random. No more needing to go into another tab to find the video, then copy the link and paste it into the description. You can now do it right inside TubeSpanner's browser extension.

Writing descriptions and linking to whatever you need within that description shouldn't take longer than actually creating a video. With TubeSpanner, you can achieve it in under five minutes.

Heading
Applying it at Upload

Body

Once your description is built, save it as a project so that you won't need to copy and paste when it's time.

From the browser extension, a creator can select the project on their upload page and apply the saved title and description directly.

That Project > Apply Step is what turns description-writing  from a repeated manual task into something done once and ahead of time.

Warning

Image
Warning

Title
Priorities

Body

None of this replaces making a good video. A strong description helps a good video get found, but it doesn't rescue a weak one. Descriptions, titles, and thumbnails are the packaging; the video is still the product.

Title
Try the Upload Assistant
Body

See what it does with a video you're already working on. No copying and pasting, and no starting from a blank field. The TubeSpanner Upload Assistant is free to use.